
Gluten Free Bread Machine
Baking with a gluten free bread machine can be an easy and less messy introduction to gluten free bread baking. It’s as simple as adding the ingredients, pushing a button and letting your machine do the rest of the work! Personally, I prefer to mix my bread dough in the machine and then shape it by hand and bake it in the oven. I can form my dough into whatever shape my heart desires, while baking bread in a bread machine always yields the same loaf shape. But if want to avoid the extra sticky mess and are short on time, baking bread in a bread maker is your best option!
Now that you are excited to start baking bread, what bread machine should you buy?
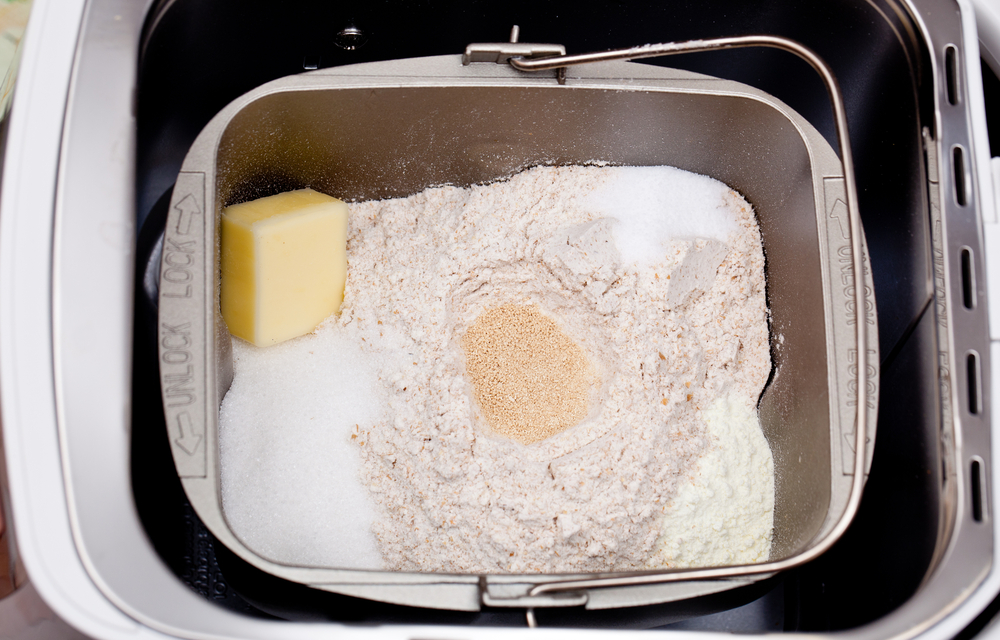
Well known brands like Oster, BreadMan and Cuisinart are all in the affordable $50-$125 price range and the newer models have gluten free settings. Regardless of which brand you use, follow the same order- liquids first, then dry ingredients, then yeast. Always put liquid ingredients (eggs, oil, butter, water, etc) into your bread maker pan first. Dry ingredients go on top. If you can whisk the dry ingredients together before pouring them into the pan, that will give you a more even mix. Make a well in the center of your dry ingredients and add the yeast. If you are using eggs in your bread, bring eggs to room temperature before mixing the gluten free bread dough. If some ingredients get stuck to the sides of the pan while mixing, use a dough scraper or spatula to wipe down the sides of the bowl. You want to make sure your ingredients are fully incorporated.
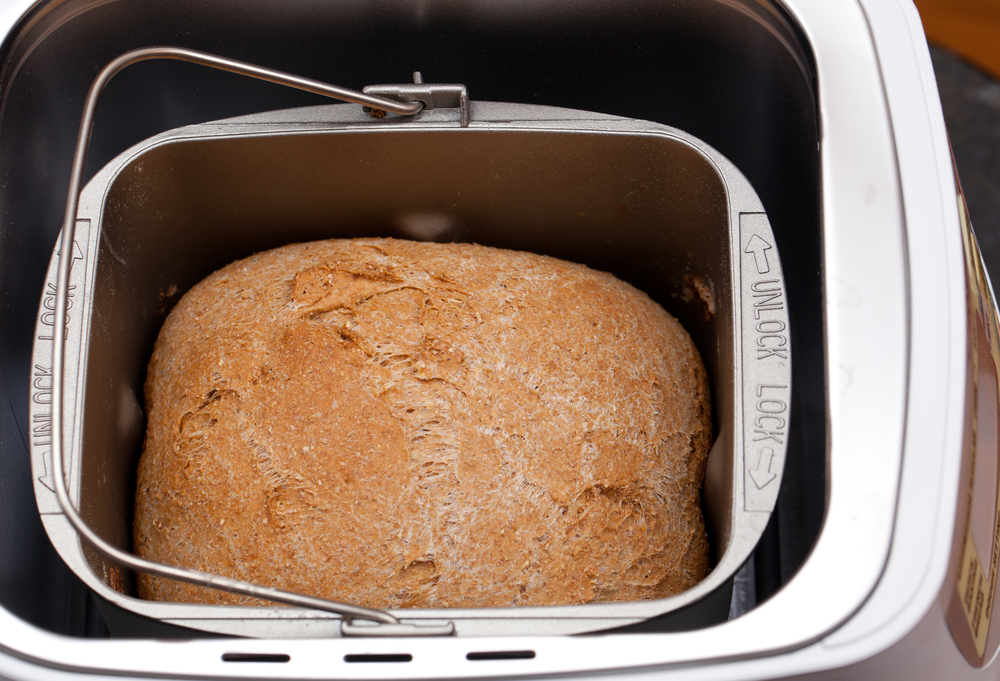
The most frustrating issue that I've historically had with baking bread in a bread maker is that even when the baking cycle is complete and the outside appears to be beautifully browned, the inside can be undercooked and doughy. The solution? Instant read thermometer! Using a thermometer is an easy way to determine if your bread is fully cooked. Always take your bread’s temperature before you take it out of the bread maker. If it’s not over 205° F, it’s not fully cooked in the middle. Add extra time to your bread maker or put the bread maker pan straight into your oven on 350° F for another 5-10 minutes and check the temperature again.
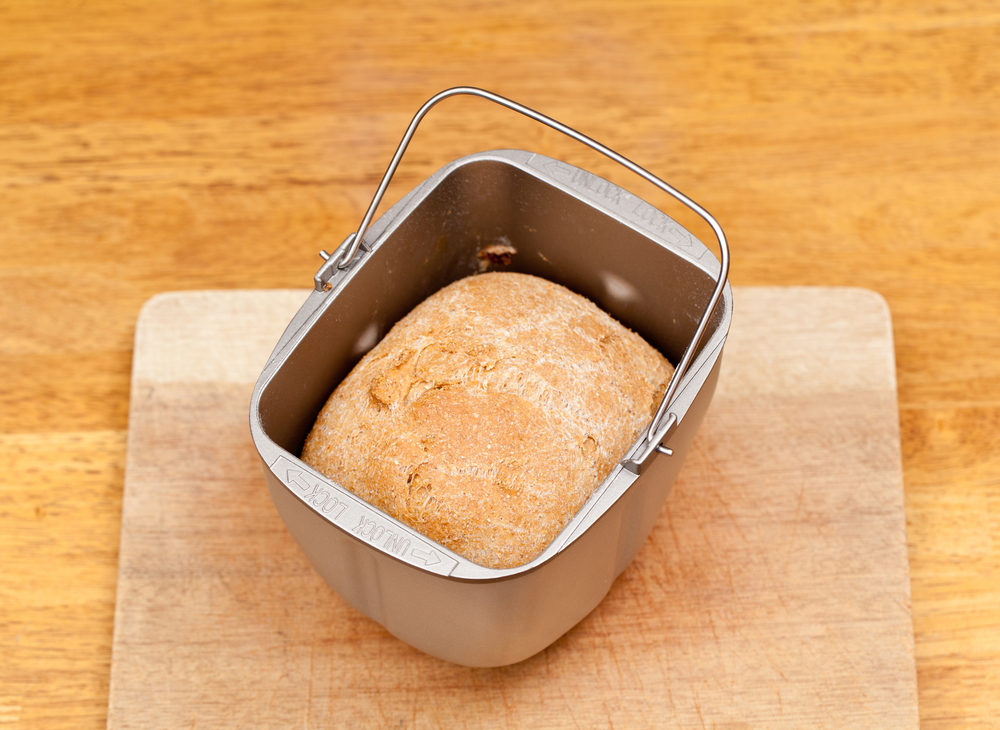
Store your fully cooled bread loaf in a ziplock bag for up to three days. Alternatively, slice the fully cooled loaf and store in the freezer. If it is wrapped and sealed tightly, the bread will last several months in the freezer.
What if your bread machine doesn't have a gluten free setting? Can you still use it to bake gluten free bread?
It is preferable to make bread in a machine with a gluten free setting, but if your bread maker is an older model, read your manual to find out how to program the machine for:
1. a 20-minute mix cycle
2. a 1-hour rise cycle
3. a 1-hour bake cycle
Do not allow the machine to do a “punch down” or second rise. Those are settings specific to gluten breads and should not be used on a gluten free loafFor the rest of the baking instructions, follow the directions above.
Here are two recipes to get you started. Use the ingredients in these recipes to make your dough. For mixing and baking directions, follow the instructions on your bread machine.
Gluten Free Health Sandwich Bread
Gluten Free Challah Bread
You can also bake Blends by Orly Gluten Free Challah Mixes in your bread machine. My favorite is the Poppyseed & Onion flavor because it makes a delicious sliced sandwich bread!